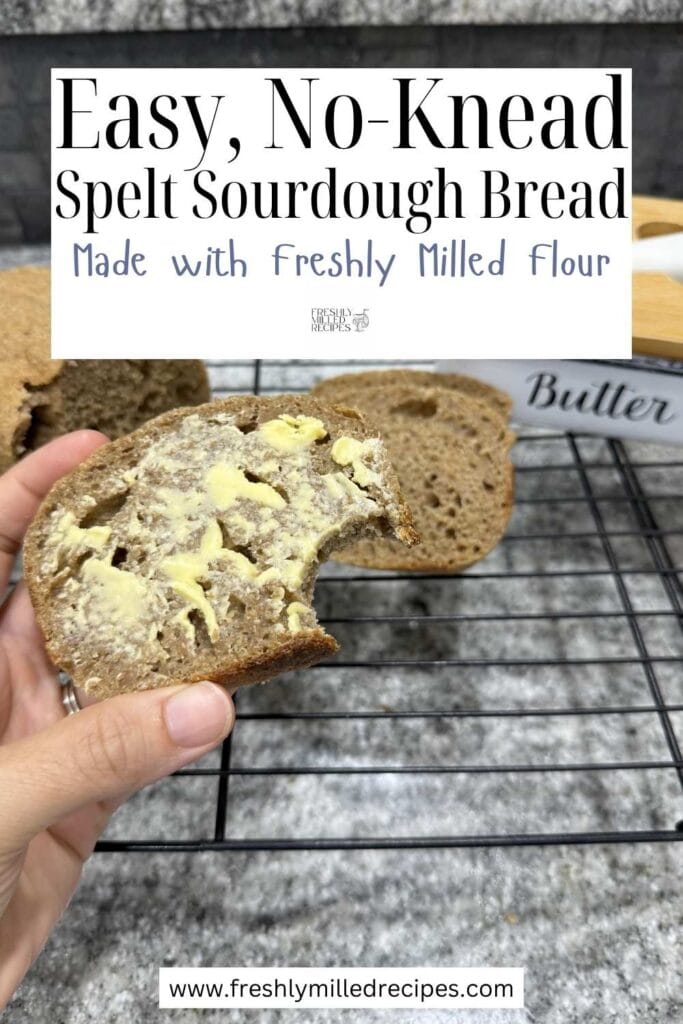
Easy, No-Knead Spelt Sourdough Bread Made With Freshly Milled Flour
Looking for a simple way to make homemade sourdough bread with freshly milled flour? Here it is…the Easy, No-knead Spelt Sourdough Bread Made With Freshly Milled Flour! No mixer or special equipment needed! Just pull out your sourdough starter, grain mill, some spelt wheat berries and a little salt and were ready to get started!
Hello! Welcome to Freshly Milled Recipes where Every Recipe Starts with Freshly Milled Flour! Today I’ll be sharing my newest recipe for my Easy, No-Knead Spelt Sourdough Bread Made With Freshly Milled Flour!
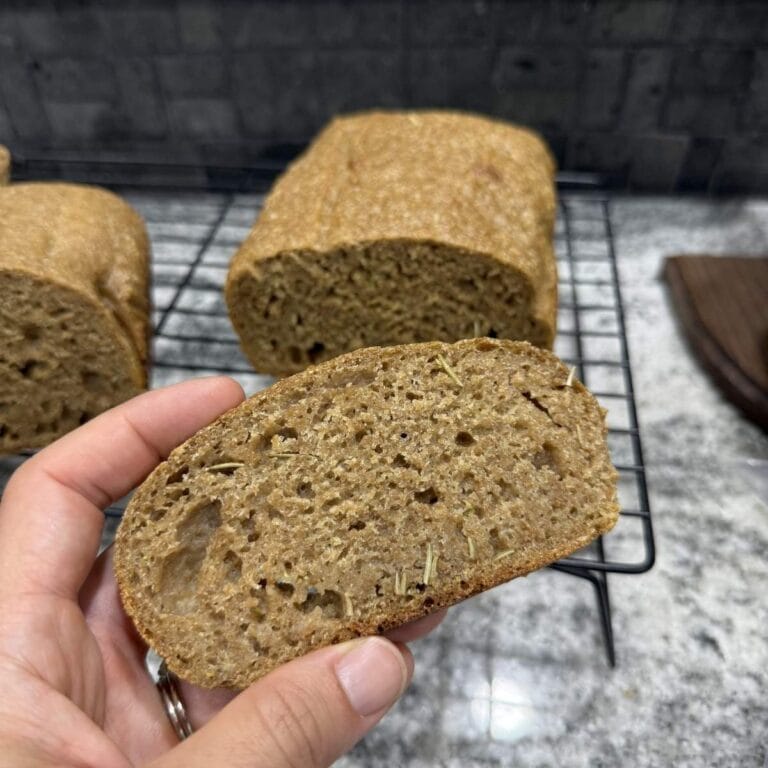
This is a great base recipe to start with. Once mastered, you can create all kinds of fun breads like Cinnamon Raisin Spelt Sourdough Bread or a Rosemary Olive Oil Sourdough Bread. I’d love to hear about what you’ve tried! Leave a comment below or tag us on Facebook or Instagram @FreshlyMilledRecipes.
Ingredients Needed
- Spelt Wheat Berries
- Water
- Active Sourdough Starter
- Salt
Because I am on a mission to make using Freshly Milled Flour accessible to everyone by providing recipes that anyone can follow, you’ll notice all of my recipes using grams instead of cups!
Yes, this means you’ll need a food scale, but you’ll be so glad you did! The more you get into using freshly milled flour, you will see the importance of using exact amounts if you want a consistent product.
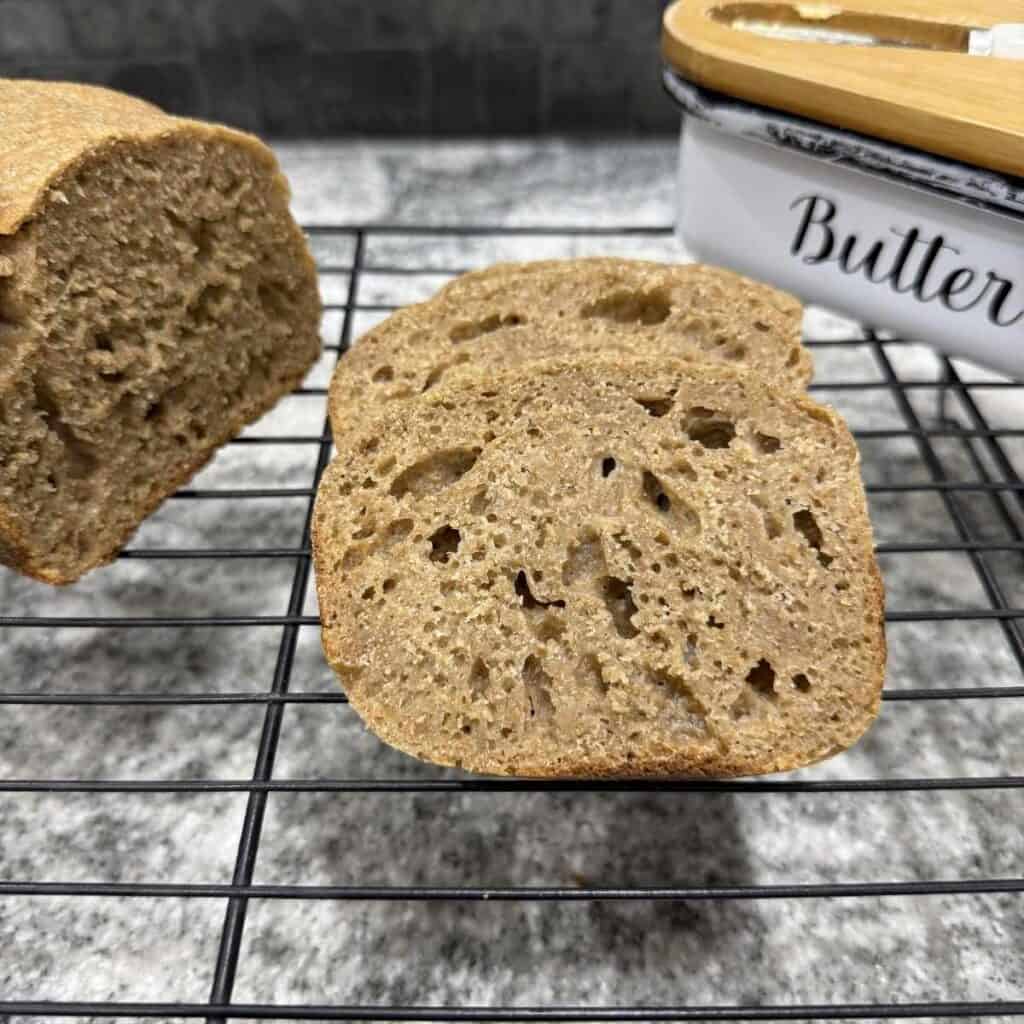
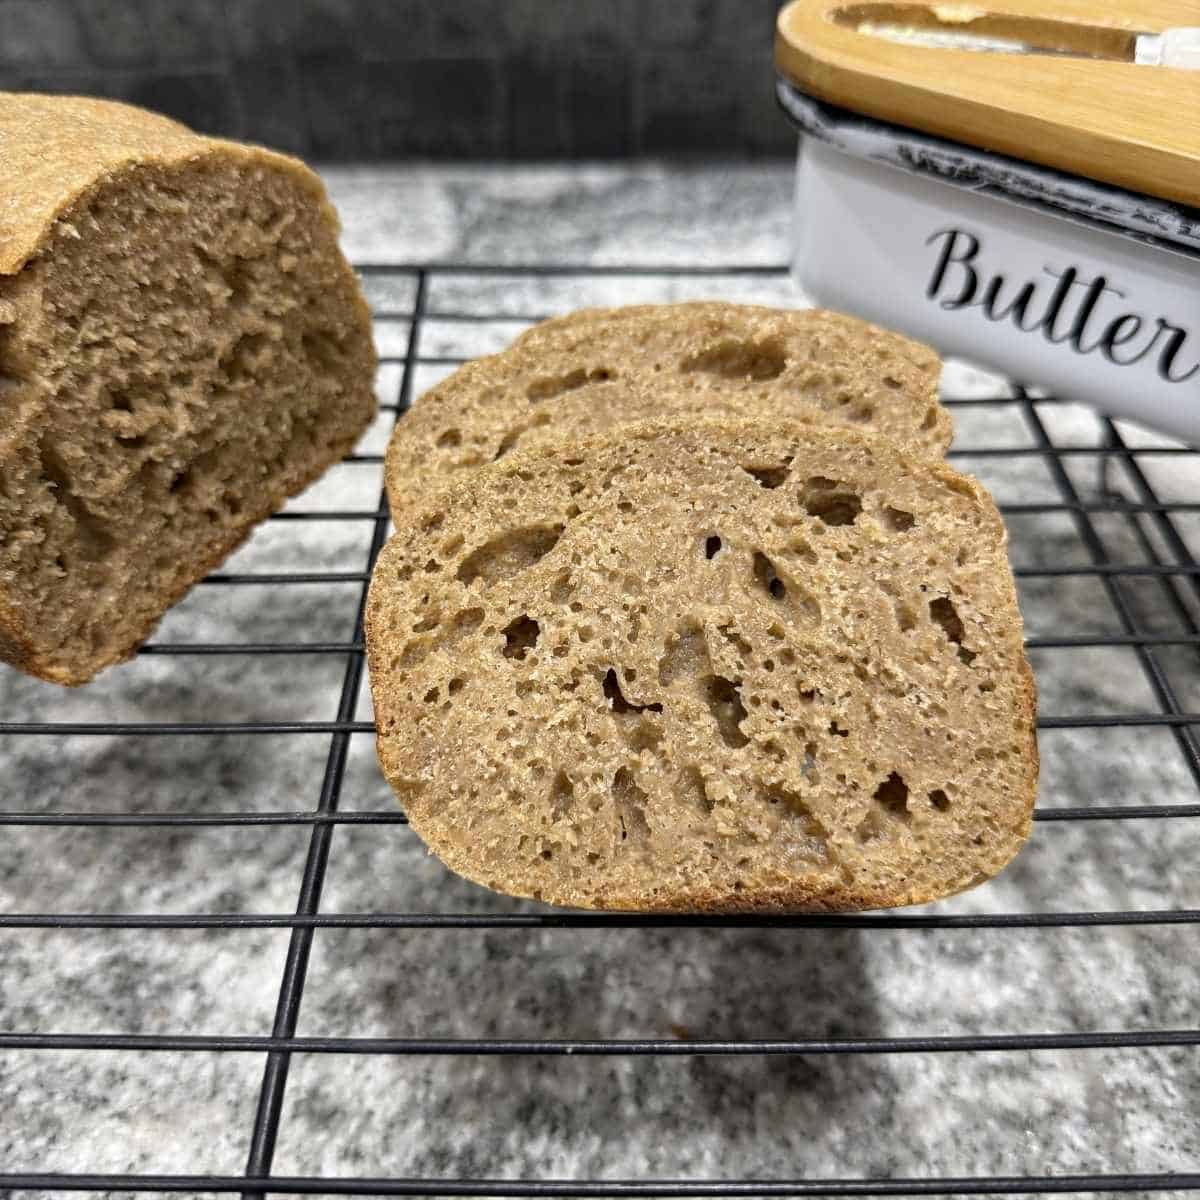
This Spelt Sourdough Bread recipe is easy to make and is a delicious, healthy option for those of us who love a good white sourdough bread with its mild flavor and soft, open crumb!
For information about the health benefits of freshly milled grains, check out this post!
**This blog post may include affiliate links. Affiliate links bring a small income at no extra cost to you that allows Freshly Milled Recipes to continue to be a free resource.**
Sourdough Cinnamon Rolls
Indulge in a decadent, cinnamon sweet breakfast! This freshly milled flour cinnamon roll recipe is delicious and nutritious!
GRAB YOUR FREE EBOOK
Get our Intro to Baking with Freshly Milled Grains ebook sent directly to your inbox!
For this Spelt Sourdough Bread recipe, I used Organic Spelt Wheat Berries sourced from Azure Standard. Read more about where and why I source my wheat berries here
Honestly, there might be a lot of new words in this process if you’re new to sourdough or bread making, but the process is not that hard. I’ll try to explain everything so that you are not lost on the verbiage. But if anything is unclear – feel free to comment below with your questions!
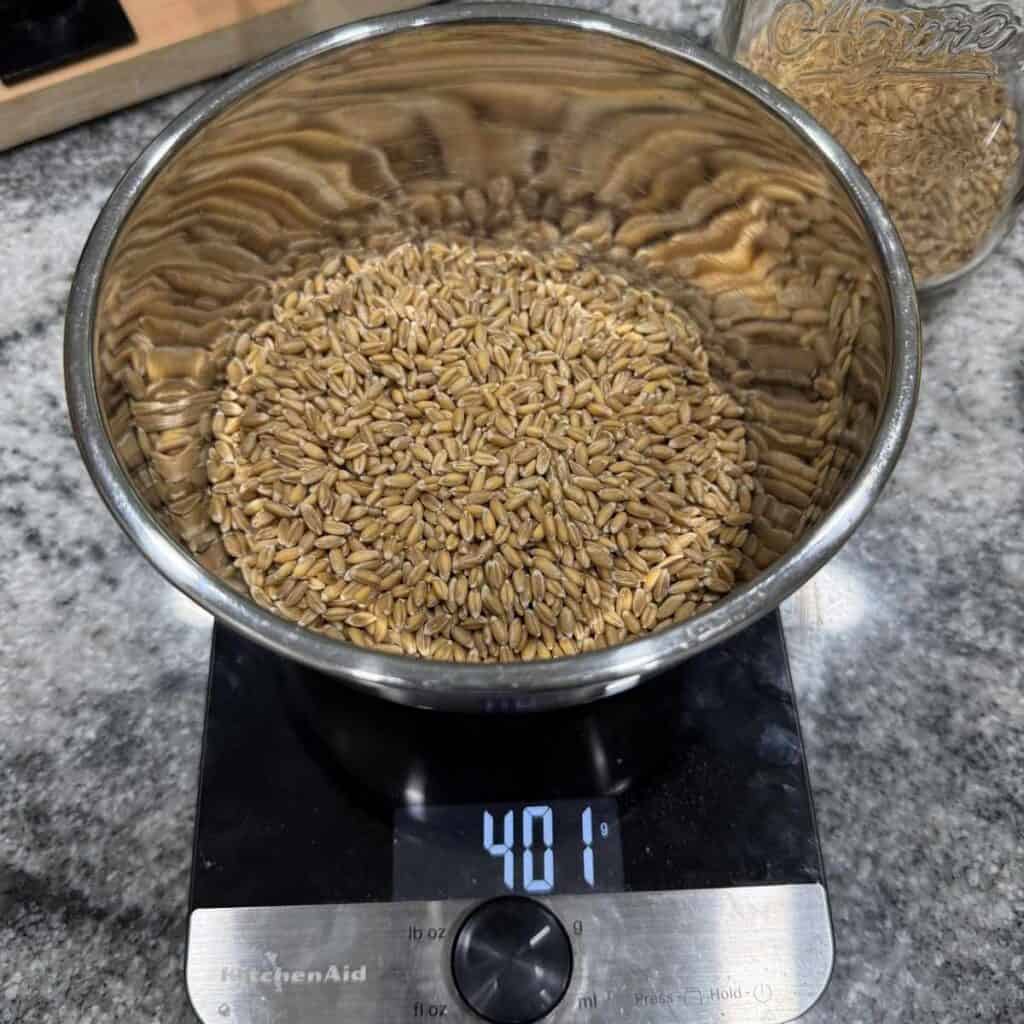
Step 1. The first thing I did was measure out my Spelt Wheat Berries (AKA Spelt Grain). The weight is the same before and after milling, but it’s easier to measure prior to milling. Once it was weighed, I ran it through my Mockmill Pro 200 on level 1.
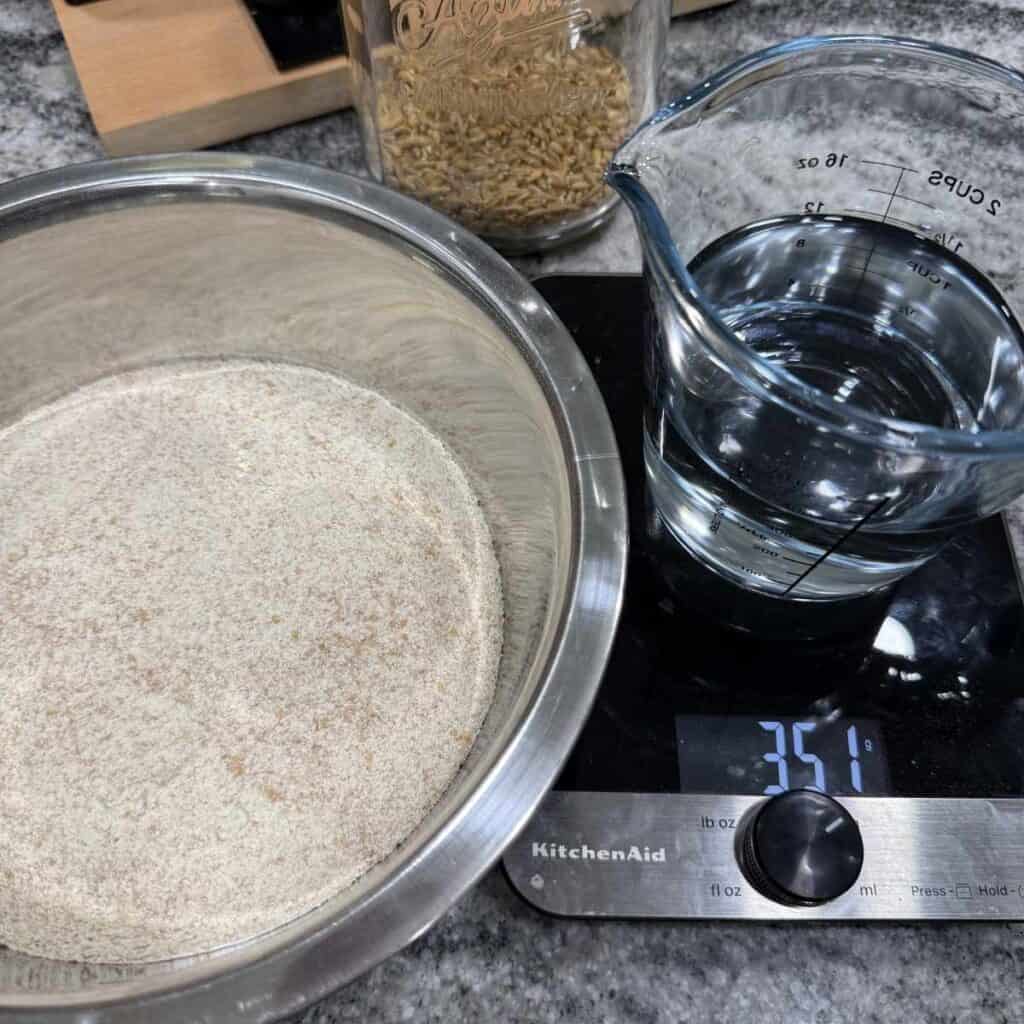
Step 2. Next I measured out the water and mixed the flour/water mixture by hand until it was fully incorporated.
*Note- one or two grams isn’t going to change the outcome of your bread. so the 401g of wheat and the 351g of water will work just fine.
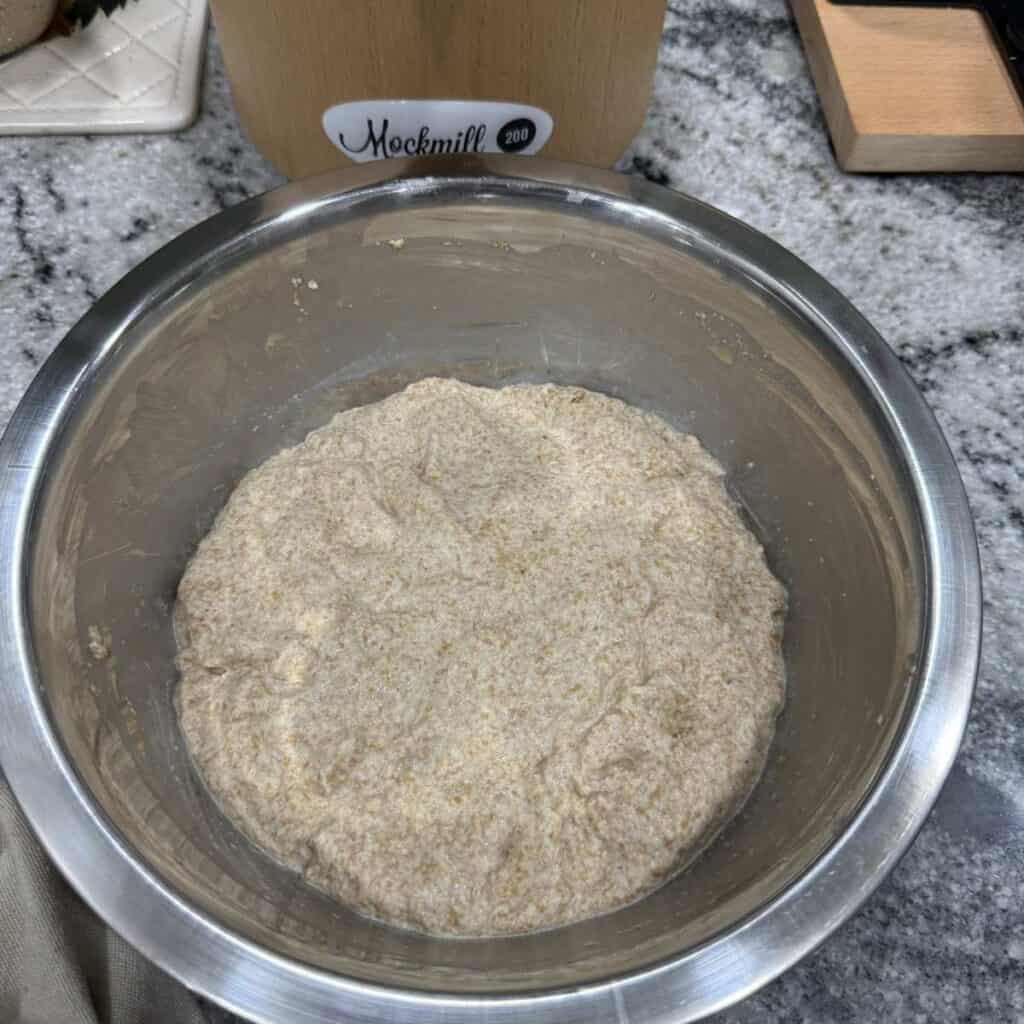
Step 3. Next we are going to let it autolyse, which means to let it rest, (covered with a tea towel) for 1 hour. You can read all about hydration and autolyse here.
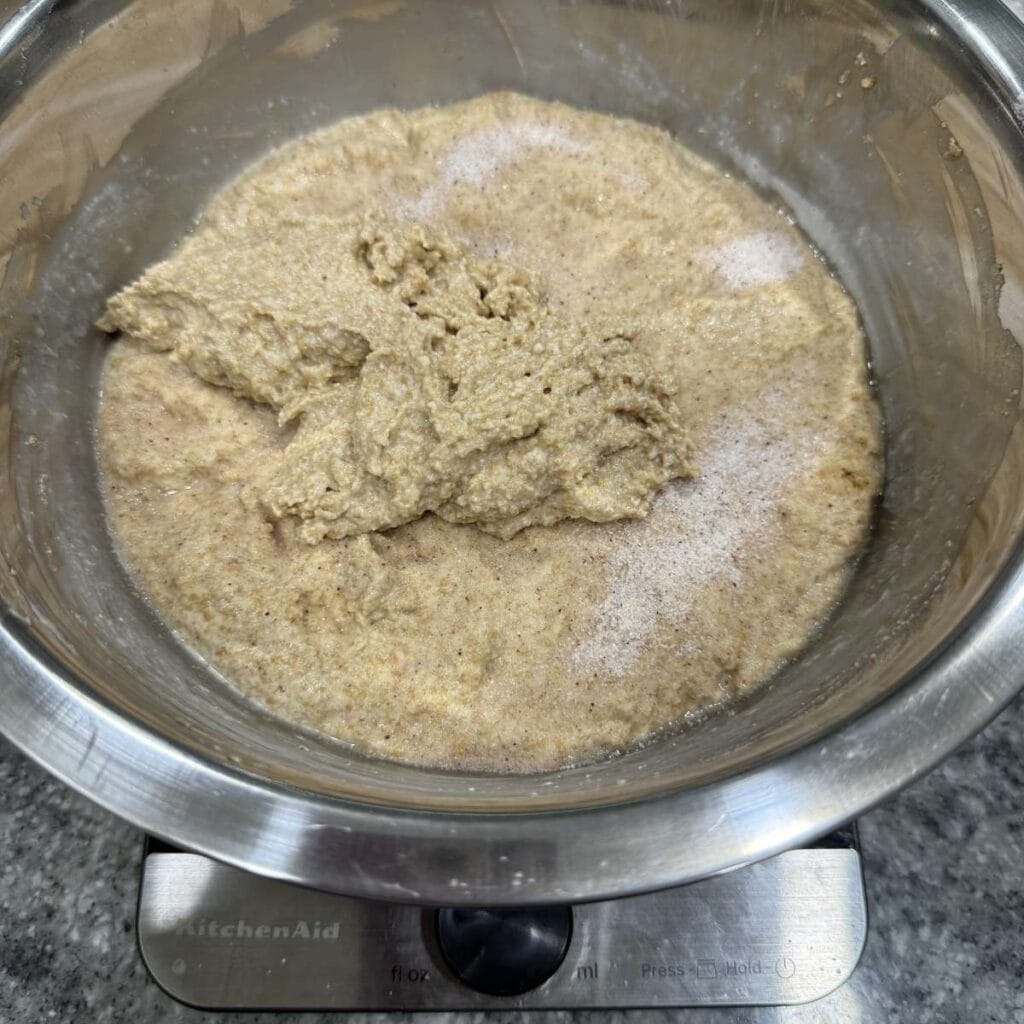
Step 4. After the autolyse, we are going to go ahead and add in the sourdough starter and salt. I gently stretch and fold this in on itself and let it rest for 20 minutes before we start the next step – view the next step to see this process because we will do it a couple of times to increase gluten in our bread.
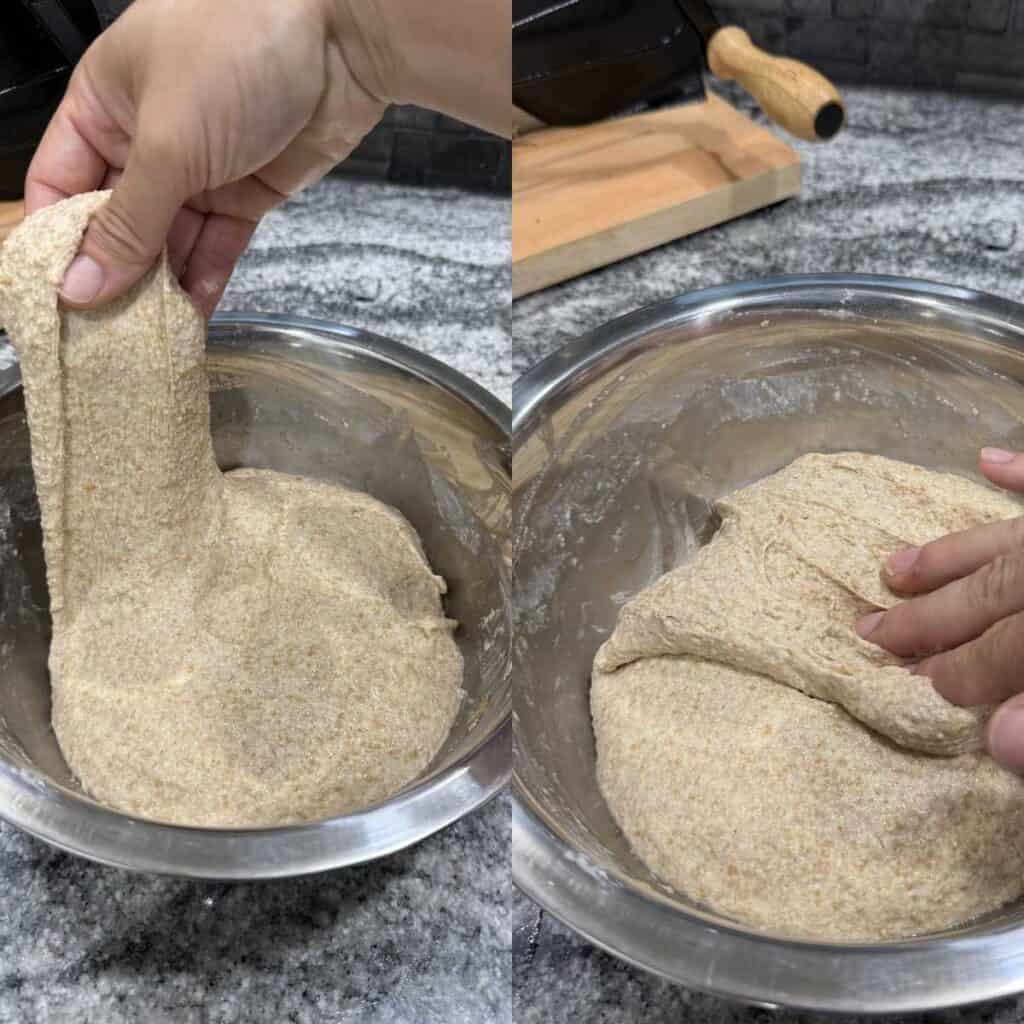
Step 5. The stretch and folds are next! I simply pick up a part of the dough, stretch it up in the air and fold it over towards the center. Continue to do that all the way around your dough so that you’ve done a full circle. Cover and rest for 20 minutes. I like to do this 2-4 times to give the bread a good gluten structure. (Why 2-4 times? Well because you want a good gluten structure. If it’s easily breaking while your doing the stretch and folds, then you need to do another round).
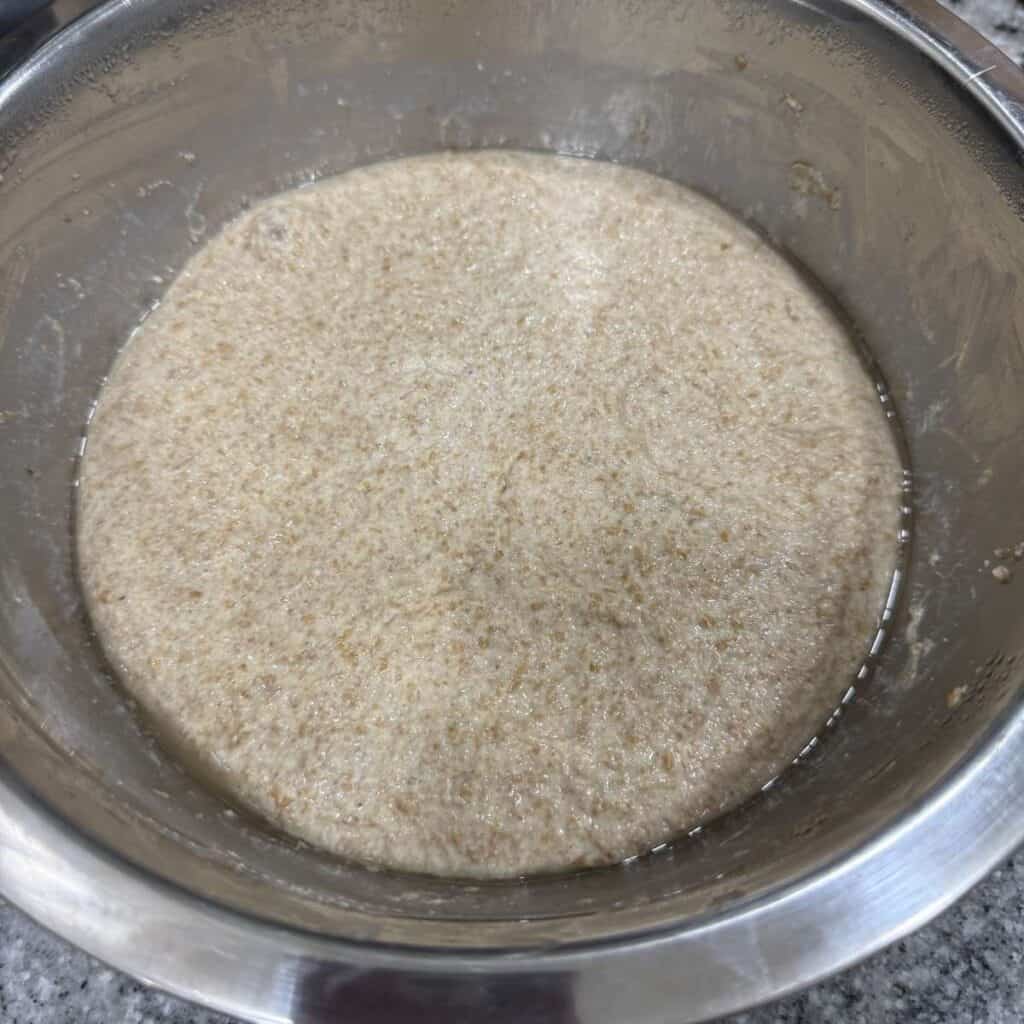
Step 6. At this point we can start our bulk fermentation. You can do this one of two ways, depending on when you are wanting to eat this yummy bread. You can either cover with plastic wrap and 1) rest on the counter for 3 hours for same day baking OR 2) place in the refrigerator overnight (or up to a week depending on how sour you want it!).
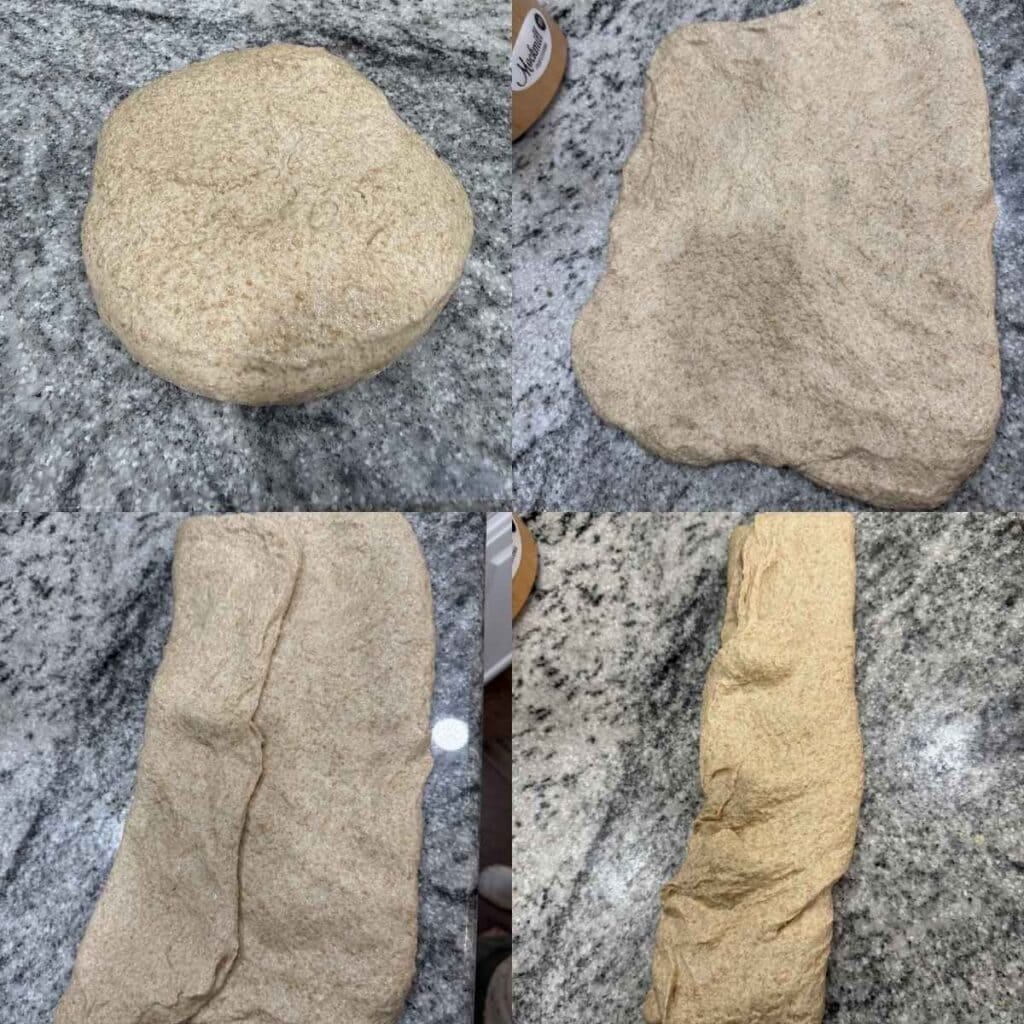
Step 7. The next step is to laminate! This may seem scary but all we’re going to do here is take that risen dough and push it down with our fingers into the shape of a rectangle. Then we are going to fold it into thirds. Once, we have that trifold of dough we’re going to roll is up and gently shaping the dough. This is kind of hard to show through pictures, but we are going to scrape the dough across the counter with our hands at the base of the dough and pull in towards us to give the top of the dough some surface tension.
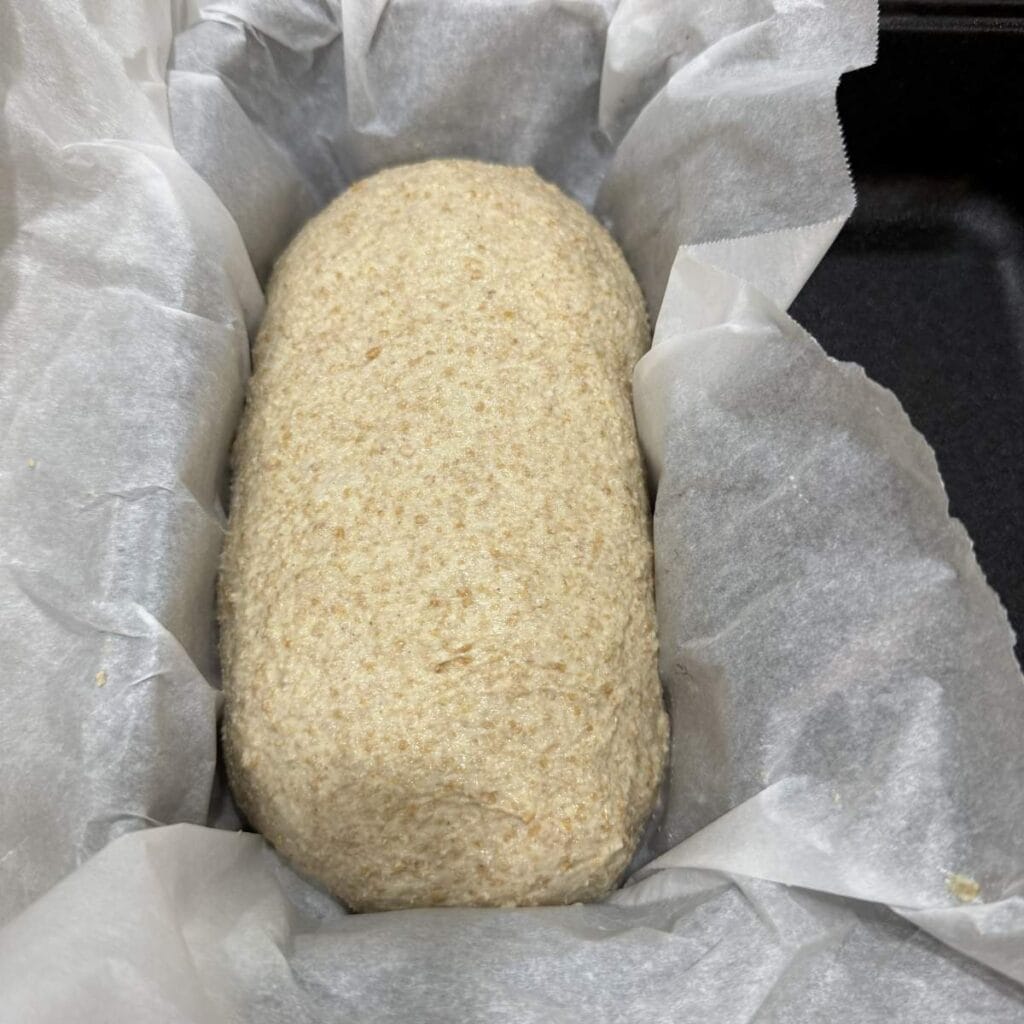
Step 8. Now I place the dough into the parchment paper lined cast iron bread pan, cover and let rest for 1 more hour.
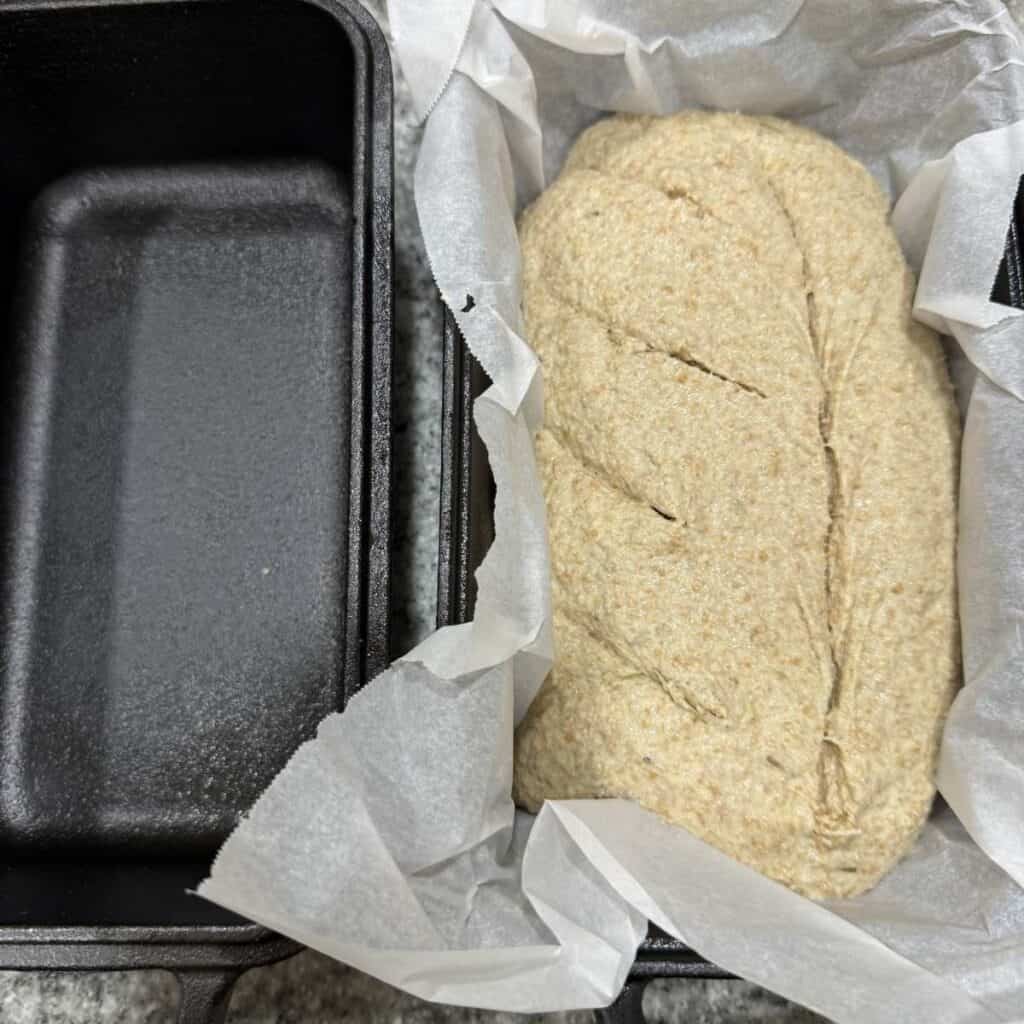
Step 9. Now we score and bake! About 10 minutes before your 1 hour time is up, I like to preheat the oven to 425 and score my bread. Scoring is the process of making shallow, intentional cuts on the surface of proofed bread dough just before baking, essential for controlling its expansion in the oven. By creating a weak spot, it directs the “oven spring” (rise), resulting in a better rise and preventing ragged, unplanned bursts on the crust. (And it’s fun to be creative with!)
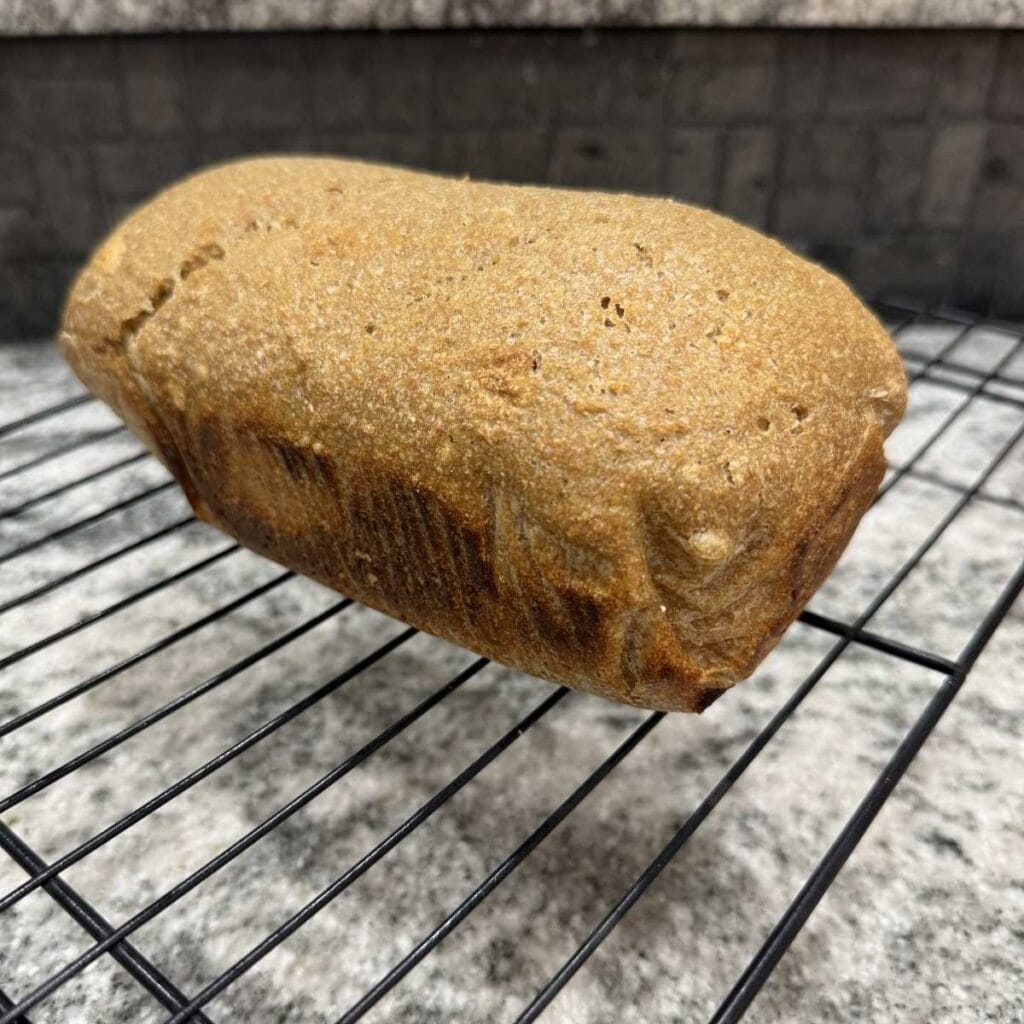
Step 10. Then we bake! We are going to bake our bread in the oven at 425 for 30 minutes with the lid on, and then an additional 20 minutes with the lid off. When I remove it from the oven, I pop it out of the bread pan and place on a cooling rack and let rest for 1 hour before slicing.
Pro Tip**It’s super tempting to cut right into the bread, but you’ll want to wait the full hour because your bread is technically still cooking. It’ll still be warm after the full hour is up, but you won’t have a gummy or dense consistency if you wait.
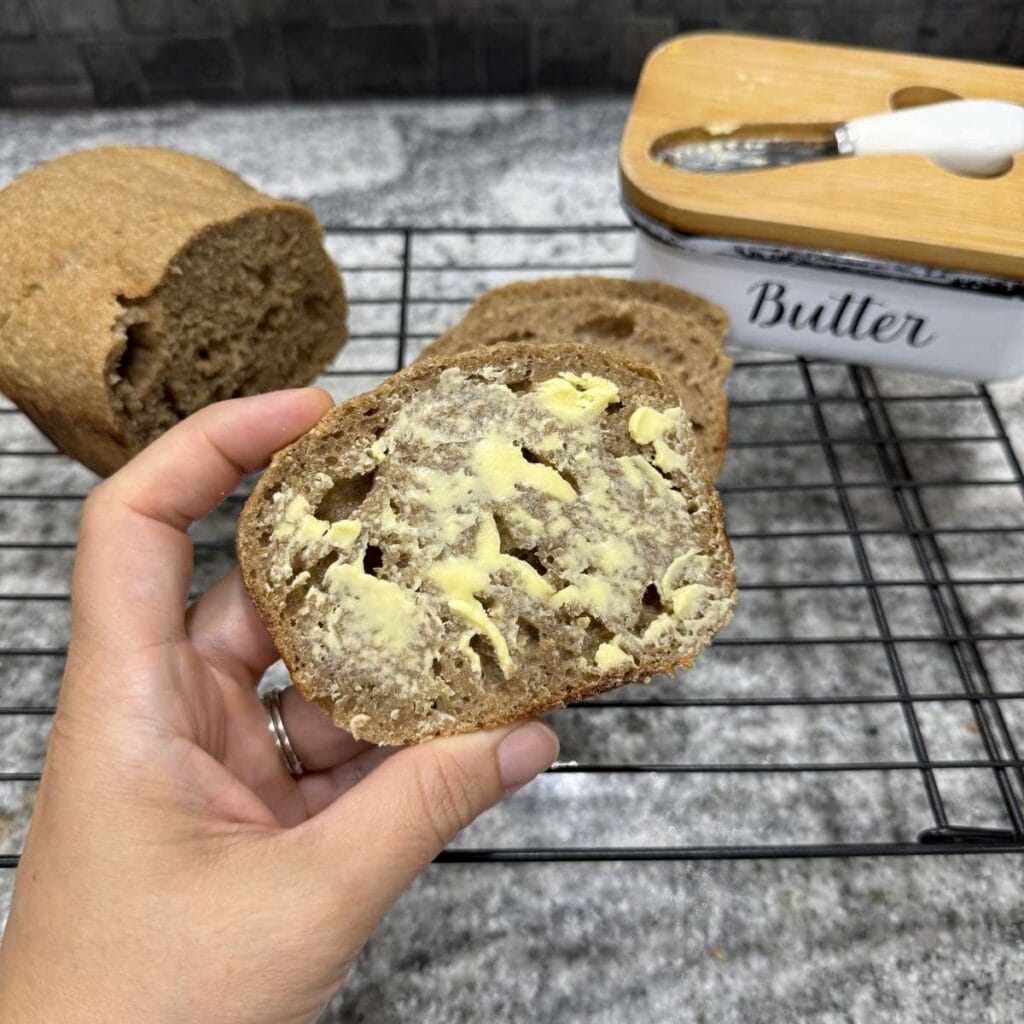
Step 11. Time to slice and eat! Top with butter or jam or eat plain…any of it is going to be delicious! I used my new manual bread slicer that my kids got me for Mother’s Day and I love it! It makes slicing the bread easy and you’ll get even slices!
Easy, No Knead Spelt Sourdough Bread Made with Freshly Milled Flour
Ingredients
Equipment
Method
- The first thing I did was measure out my Spelt Wheat Berries (AKA Spelt Grain). The weight is the same before and after milling, but it’s easier to measure prior to milling. Once it was weighed, I ran it through my Mockmill Pro 200 on level 1.
- Next I measured out the water and mixed the flour/water mixture by hand until it was fully incorporated. **Note- one or two grams isn’t going to change the outcome of your bread. so the 401g of wheat and the 351g of water will work just fine.
- Next we are going to let it autolyse, which means to let it rest, (covered with a tea towel) for 1 hour. You can read all about hydration and autolyse here.
- After the autolyse, we are going to go ahead and add in the sourdough starter and salt. I gently stretch and fold this in on itself and let it rest for 20 minutes before we start the next step – view the next step to see this process because we will do it a couple of times to increase gluten in our bread.
- The stretch and folds are next! I simply pick up a part of the dough, stretch it up in the air and fold it over towards the center. Continue to do that all the way around your dough so that you’ve done a full circle. Cover and rest for 20 minutes. I like to do this 2-4 times to give the bread a good gluten structure. (Why 2-4 times? Well because you want a good gluten structure. If it’s easily breaking while you’re doing the stretch and folds, then you need to do another round).
- At this point we can start our bulk fermentation. You can do this one of two ways, depending on when you are wanting to eat this yummy bread. You can either cover with plastic wrap and 1) rest on the counter for 3 hours for same day baking OR 2) place in the refrigerator overnight (or up to a week depending on how sour you want it!).
- The next step is to laminate! This may seem scary but all we’re going to do here is take that risen dough and push it down with our fingers into the shape of a rectangle. Then we are going to fold it into thirds. Once, we have that trifold of dough we’re going to roll is up and gently shaping the dough. This is kind of hard to show through pictures, but we are going to scrape the dough across the counter with our hands at the base of the dough and pull in towards us to give the top of the dough some surface tension.
- Now I place the dough into the parchment paper lined cast iron bread pan, cover and let rest for 1 more hour.
- Now we score and bake! About 10 minutes before your 1 hour time is up, I like to preheat the oven to 425 and score my bread. Scoring is the process of making shallow, intentional cuts on the surface of proofed bread dough just before baking, essential for controlling its expansion in the oven. By creating a weak spot, it directs the “oven spring” (rise), resulting in a better rise and preventing ragged, unplanned bursts on the crust. (And it’s fun to be creative with!)
- Then we bake! We are going to bake our bread in the oven at 425 for 30 minutes with the lid on, and then an additional 20 minutes with the lid off. When I remove it from the oven, I pop it out of the bread pan and place on a cooling rack and let rest for 1 hour before slicing. Pro Tip**It’s super tempting to cut right into the bread, but you’ll want to wait the full hour because your bread is technically still cooking. It’ll still be warm after the full hour is up, but you won’t have a gummy or dense consistency if you wait.
- Time to slice and eat! Top with butter or jam or eat plain…any of it is going to be delicious! I used my new manual bread slicer that my kids got me for Mother’s Day and I love it! It makes slicing the bread easy and you’ll get even slices!


I made this bread and it’s so much easier than any other FMF bread recipe that I’ve tried. It’s so soft and my kids love it! Thanks Tyla for making this so easy!